
 Pin
Pin
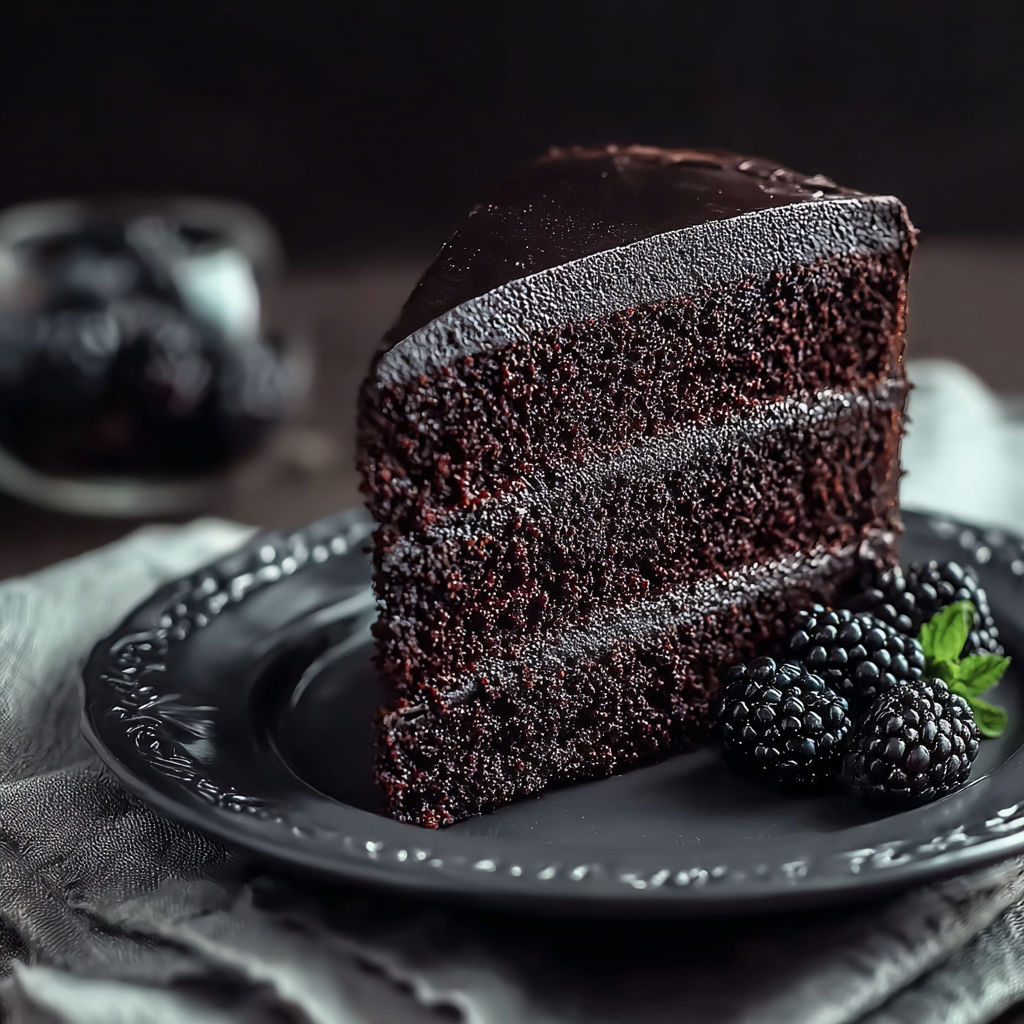
This perfect black velvet cake is ideal for birthdays, casual gatherings, or simply as a treat to brighten a regular weeknight. The deep color and tender crumb make for an impressive centerpiece while still being wonderfully easy to prepare from scratch.
Every time I make this velvet cake, someone always stops mid-bite to ask about the secret to its color and softness. It became our family’s showstopper in the winter and I have made it for more birthdays than I can count.
Gather Your Ingredients
- All-purpose flour: Forms the foundational structure for a balanced tender crumb. Choose a fresh bag for best results.
- Baking soda: Helps the cake rise and gives a lighter texture. Always double check its freshness by testing with vinegar and water.
- Salt: Sharpens flavor and brings out the richness in the cocoa.
- Granulated sugar: Sweetens and helps create moisture. Opt for fine pure cane sugar for a melt-in-your-mouth crumb.
- Buttermilk: Infuses the cake with tang and tenderness. Use full fat for richest results.
- Vegetable oil: Keeps the cake incredibly moist from the first bite to the last. Even neutral oils work well.
- Large eggs: Bind everything together and contribute to a plush even crumb. Use room temperature eggs for optimal mixing.
- Vanilla extract: Warms up the cocoa and lifts the cake’s flavor profile. Pure vanilla is my pick for best aroma.
- Black gel food coloring: Gives the cake its signature hue. Go for a quality gel not liquid for a deeper color that does not alter the batter.
How to Make It
- Prepare the Pans:
- Preheat your oven to 350 degrees Fahrenheit. Set out two nine inch round cake pans and line each bottom with parchment paper. Press the paper to fit snugly then very lightly grease the surface with oil or nonstick spray. This keeps the cake from sticking and helps them come out beautifully clean.
- Mix the Dry Ingredients:
- In a medium bowl add your flour, baking soda, salt and sift everything together. You want an even fine blend without lumps. This will ensure your crumb texture is silky and your cake bakes level. Each scoop should feel weightless as you whisk.
- Combine Wet Ingredients:
- In a separate large bowl whisk together granulated sugar, buttermilk, vegetable oil, whole eggs, vanilla extract and the black gel food coloring. Whisk with energy until you have a glossy uniform mixture. The color should deepen and the sugar should nearly dissolve. For the richest color let it sit a minute before mixing with the dry ingredients.
- Join Wet and Dry Mixtures:
- Gradually add your dry ingredients to the wet, folding with a spatula or spoon. Take your time and go slowly around the edges until there is no visible flour. Overmixing creates a dense cake so stir just until everything is combined and you see a smooth luxurious batter.
- Bake the Cake:
- Divide the batter evenly between your prepared pans. Gently tap each pan on the counter to release air bubbles. Place into the oven on the middle rack and bake for about twenty five minutes. Check doneness by inserting a toothpick in the center. It should come out clean or with a few moist crumbs.
- Cool and Release:
- Let the cakes rest in the pans for about ten minutes before running a butter knife around the edge and inverting onto a wire rack. Remove the parchment bottoms carefully. Allow to cool completely before stacking or frosting. This keeps each layer plush and prevents the color from smudging.
I am always amazed at how the black color wows kids and adults alike. My favorite touch is adding a bright berry jam between the layers to make the flavor and color pop. My son once requested this cake for Halloween and everyone was convinced it was made by a pro baker.
Flavor Boosters
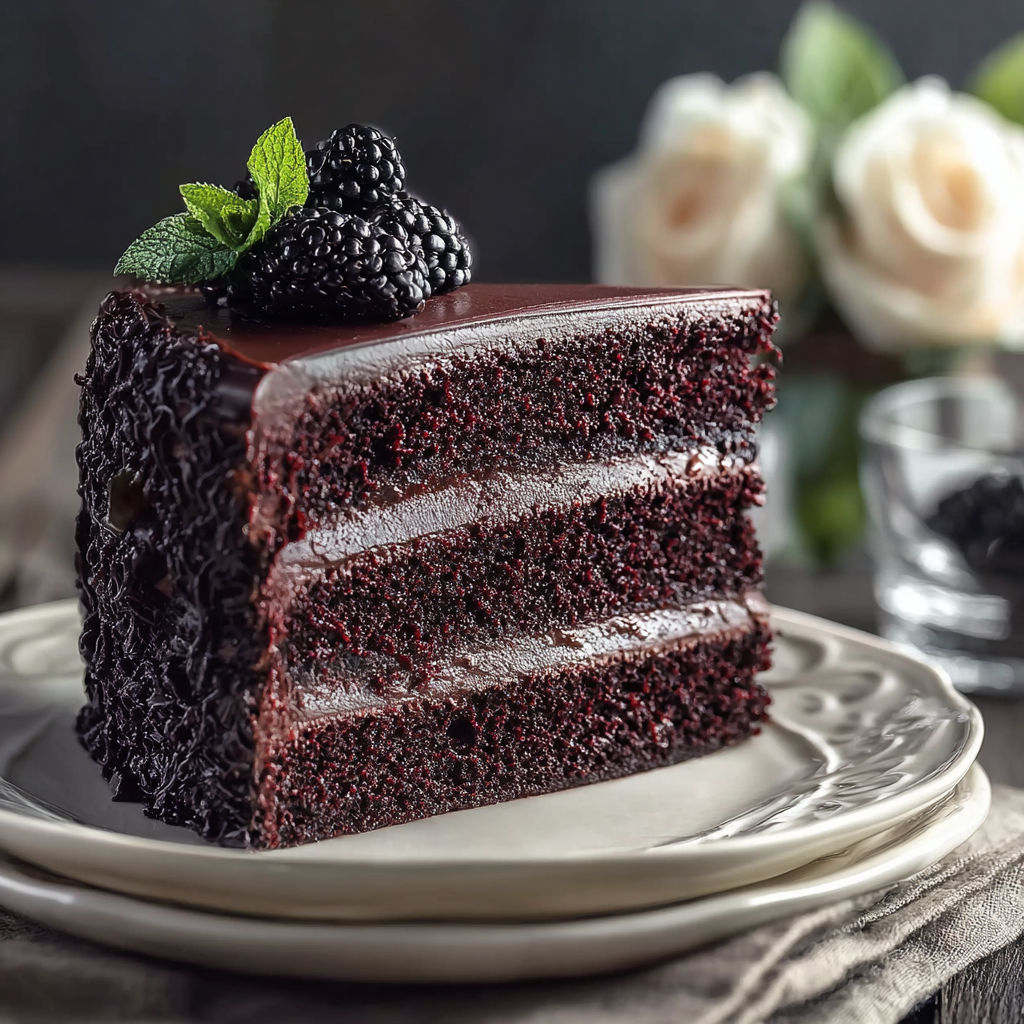
Layer with cream cheese or espresso buttercream for a bold flavor contrast. Add fresh seasonal berries for a tart note. To impress your guests finish with a dark chocolate ganache glaze which highlights the color even more. This cake is also lovely dusted with edible gold for a special occasion.
Serving Suggestions
Wrap cooled cake layers in plastic and store at room temperature for up to two days. For longer storage refrigerate in an airtight container. Your cake will stay moist for a full week if properly wrapped. If you want to freeze it, wrap individual layers in several sheets of plastic then foil and store for up to three months.
Creative Twists
If you are out of buttermilk you can make a quick version with one cup milk plus one tablespoon lemon juice or vinegar stirred in and left to sit for five minutes. Coconut oil or canola oil work well instead of vegetable oil. Swap in natural unsweetened cocoa powder for a different color, just expect a less intense hue.
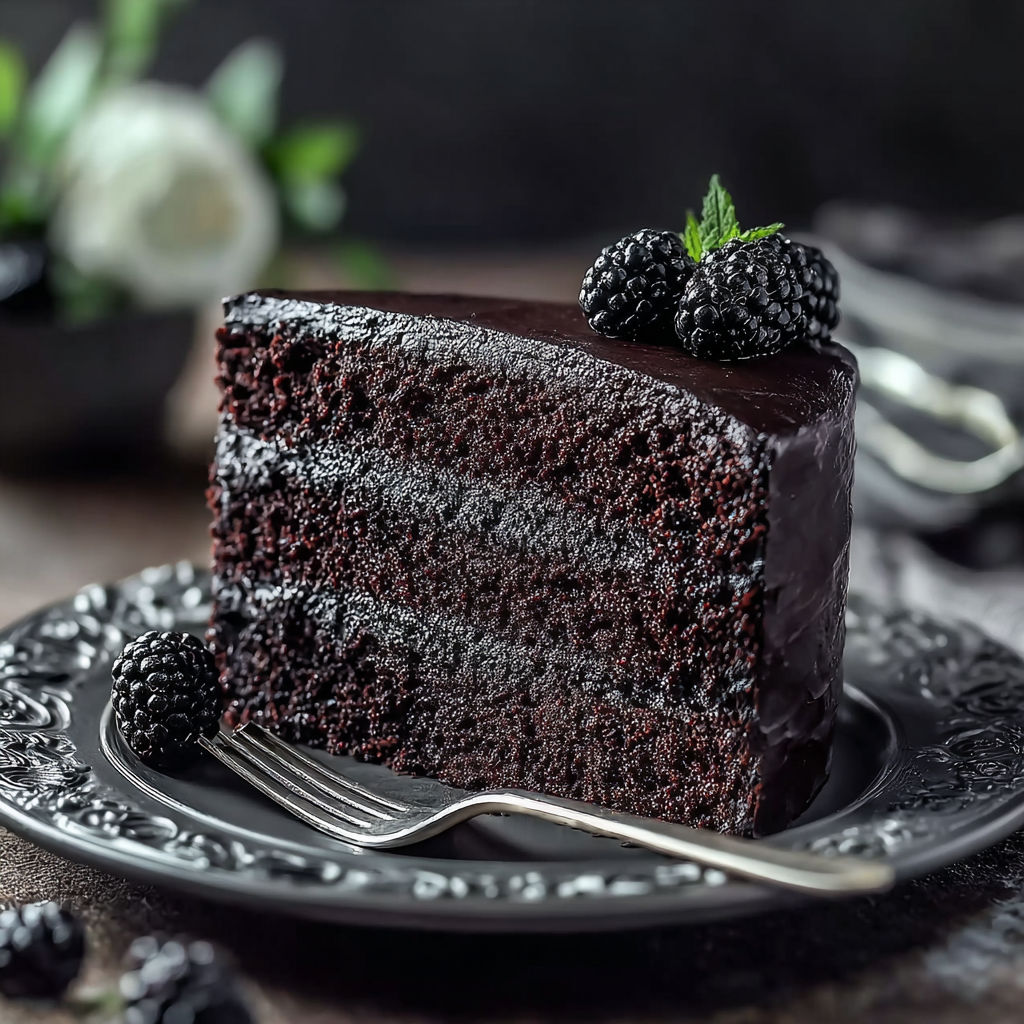
This cake instantly becomes the talk of the table and brings a magical flair to any celebration. Its dramatic look and plush crumb always inspire joy and second helpings.
Frequently Asked Questions About This Dish
- → How is the black color achieved?
The deep black hue comes from black gel food coloring mixed with cocoa powder and basic cake ingredients.
- → Can I substitute the buttermilk?
Yes, you can use a mixture of milk and a splash of vinegar or lemon juice as a buttermilk substitute.
- → What texture does this cake have?
This cake is known for its moist, tender crumb and soft, rich mouthfeel, ideal for decadent desserts.
- → Is this cake suitable for layering?
Absolutely, the sturdy yet moist texture makes it perfect for layered cakes and creative decoration.
- → Does the black food coloring affect flavor?
No, black gel food coloring provides striking color without altering the cake’s flavor profile.